Setting Up Your Organization
Setting Up Your Organization
Create your organization profile on Artsume, invite team members, and configure your workspace to start managing opportunities.

Create your organization
- Sign up or log in to Artsume
- Select Organization as your account type (or add an organization to an existing account)
- Fill in your organization details:
- Name: Your organization's official name
- Handle: Unique identifier (like
@gallery-name) - Type: Gallery, museum, residency, grant program, etc.
- Location: City, state/province, country
Complete your profile
Add the information artists will see when browsing opportunities:
Basic info:
- Description: What your organization does (2-3 paragraphs)
- Website URL
- Contact email
- Social media links
Visual identity:
- Logo: 400×400px recommended
- Banner image: 1600×400px recommended
Make your description specific. "We support emerging artists through residencies and grants" is better than "We are committed to fostering artistic excellence."
Invite team members
Open Settings → Team & roles from anywhere in your organization — the settings panel opens as a modal over your current screen, so you don't lose your place.
Roles:
- Owner: Full access, can delete organization
- Admin: Full access except deleting organization
- Editor: Create and edit opportunities, view applications
- Reviewer: Review and score applications only
Click Invite Member, enter their email, and select a role. They'll get an invitation email.
Set up your subscription
Artsume offers different plans based on your needs:
- Open Settings → Payments from your organization menu
- Review available plans
- Choose the plan that fits your volume of opportunities and team size
- Complete payment setup
Settings opens as a modal — make a change, close it, and you're right back where you started.
Free tier
Start with the free tier to explore features before upgrading. You can post limited opportunities and invite a small team.
Configure settings
Settings is a modal you can open from anywhere on Artsume. The sections, in the order they appear in the modal's left rail:
Sharing
- Your organization's public profile URL and what's visible to artists
Team & roles
- Invite, promote, demote, and remove members
Notifications
- Email alerts for new applications, team activity, deadlines, and digest cadence
Decision letters
- Default acceptance, waitlist, and rejection templates
Accessibility
- Reduced-motion preference and other accessibility defaults
Payments
- Subscription, Stripe Connect for fee collection, payouts
Handle
- Change your organization's
@handle
Profile content like your name, about, contact info, and related orgs lives on the Profile tab (/org/{your-handle}/profile) — see below.
Edit your organization profile
Your profile is where artists learn who you are. Open the Profile tab from your organization dashboard to edit it.
Each piece of your profile opens in a focused dialog when you click to edit:
- About — your description, year founded, disciplines you work with
- Contact — website, email, social links
- Card — what shows up on your organization card across Artsume
- Related Orgs — partner organizations linked to yours
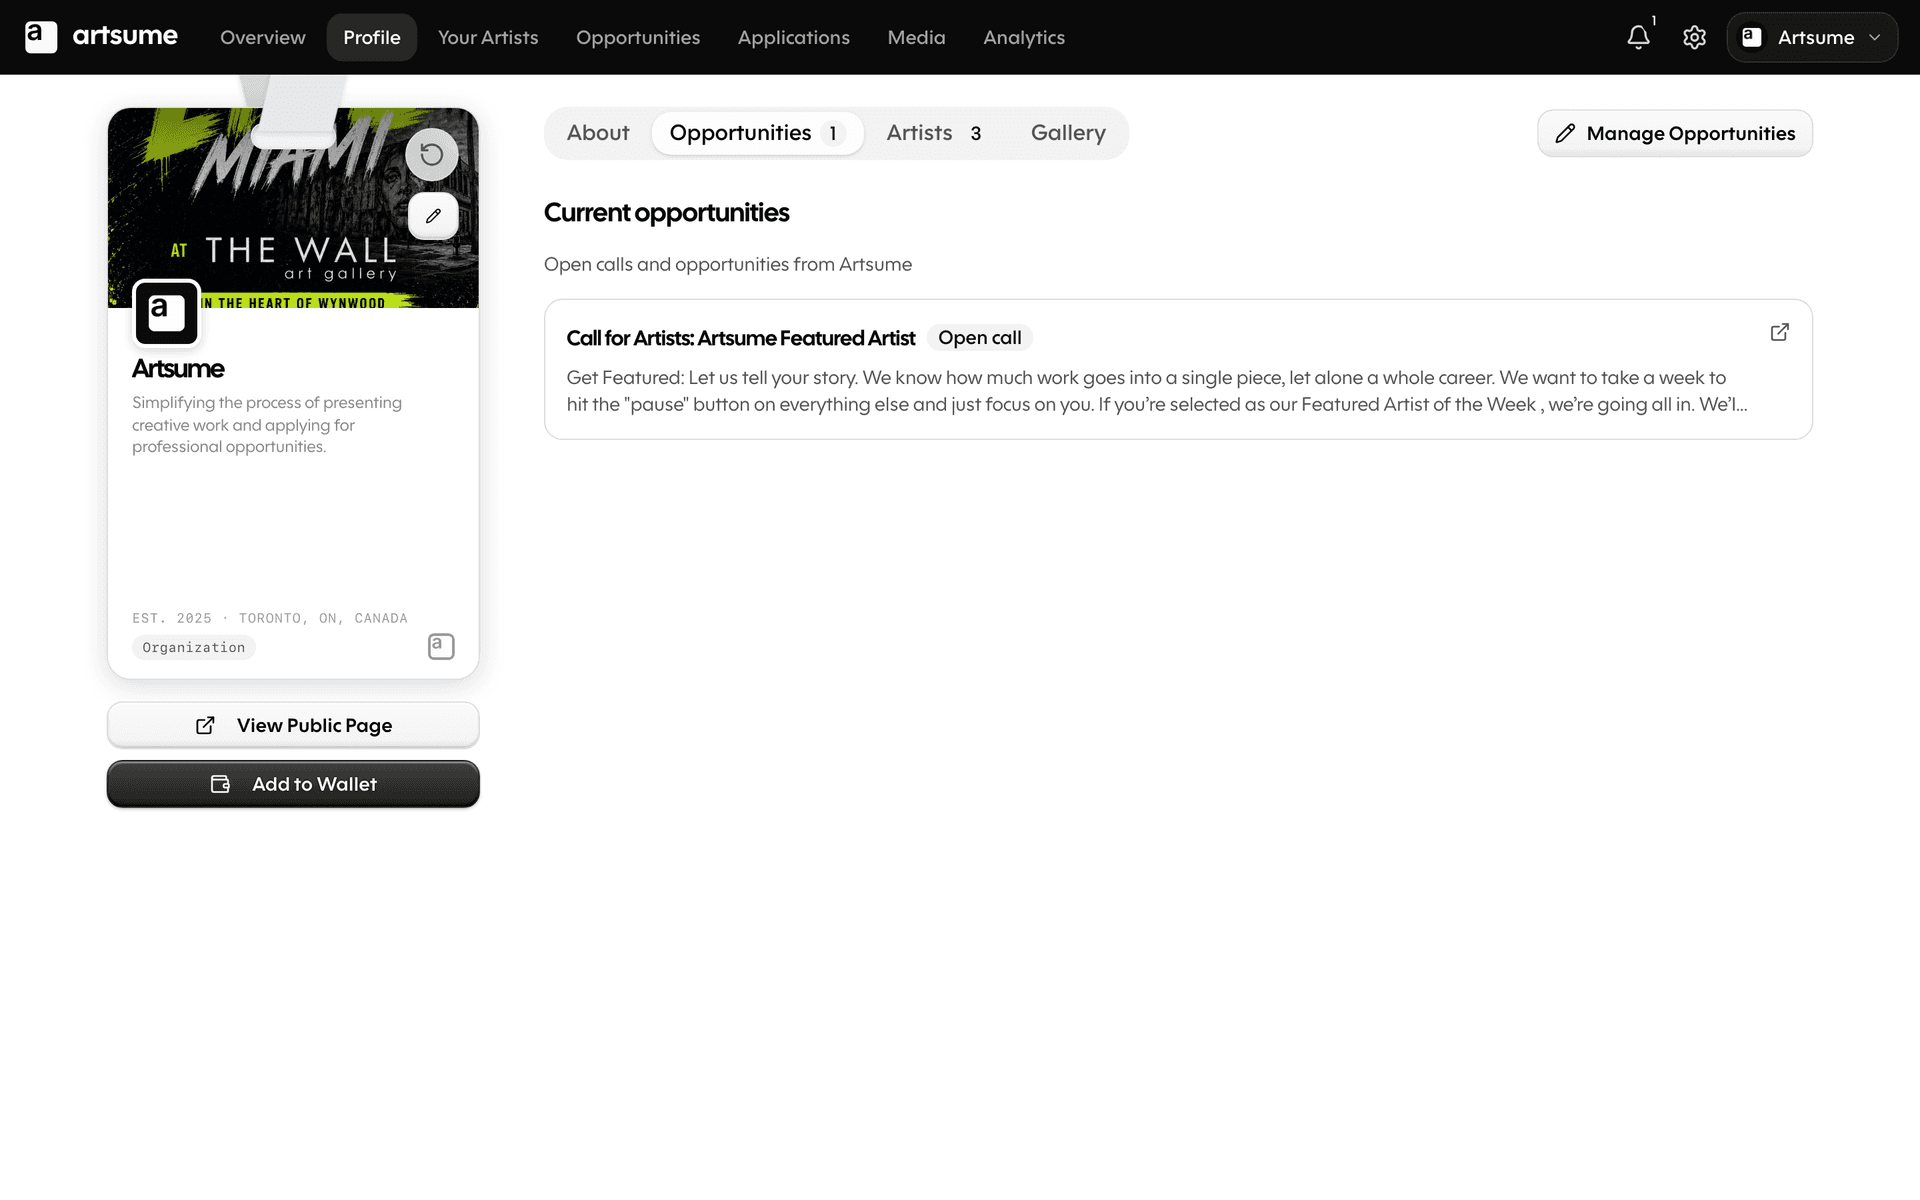
The four other tabs on /org/{slug}/profile link out to your existing workflows: Opportunities, Artists (the Affiliated Artists tab), Gallery, and Reviews.
Create your first opportunity
Once your organization is set up:
- Click Create Opportunity
- Fill in opportunity details (title, description, eligibility)
- Build your application form
- Set deadlines and configure review settings
- Publish
See Creating Opportunities for the full guide.
Frequently Asked Questions
What's next
- Creating Opportunities: Post your first opportunity
- Reviewing Applications: Set up your review process
- Team Collaboration: Work with your team
Topics
Related Tutorials
Affiliated Artists
Manage the artists connected to your organization: verify CV claims, handle disputes, and track the lifecycle of every association.
Best Practices
Best practices for artists and organizations on Artsume: profile optimization, portfolio presentation, application strategies, and review processes.
Creating Your Profile
Build your Artsume artist profile: handle, disciplines, statement, visibility, and images. Step-by-step setup guide.