Documenting Your Artwork: Photography Tips for Artists
Photograph your artwork professionally. Techniques for 2D, 3D, and installation work to create portfolio-ready documentation.
Camera Options for Art Documentation
| Equipment | Cost | Quality | Best For |
|---|---|---|---|
| Smartphone (recent) | $800-1,200 | Good | Social media, quick shots |
| Mirrorless Camera | $1,500-3,000 | Excellent | Professional portfolio |
| DSLR | $800-2,500 | Excellent | Versatile, many lenses |
| Professional Photographer | $200-500/session | Excellent | High-stakes applications |
Why Documentation Matters
Documentation quality determines your portfolio's effectiveness. Galleries, grants, and opportunities evaluate what they see in images - not what they imagine your work might look like in person. Weak documentation eliminates strong work from consideration.
Professional documentation isn't optional for serious practice. Whether you hire photographers or develop your own skills, learn more in our portfolio best practices guide, creating consistent, high-quality images of your work is essential for grant applications and gallery approaches professional infrastructure.
Equipment Essentials
Camera Options
DSLR or mirrorless cameras provide maximum control over exposure, white balance, and image quality. Mid-range cameras ($500-1500) suffice for documentation work; high-end equipment offers marginal benefits.
Smartphone cameras have improved dramatically. Recent flagship phones capture adequate documentation with proper lighting and technique. Smartphone limitations include less control over settings and challenges with color accuracy.
Medium format cameras provide exceptional detail for large-scale or detailed work but represent significant investment rarely necessary for standard documentation.
Lenses
For 2D work, use lenses minimizing distortion - 50mm or longer focal lengths on full-frame cameras. Wide-angle lenses introduce barrel distortion that warps rectangular works.
For 3D work, various focal lengths capture different perspectives. Standard zoom lenses (24-70mm equivalent) provide versatility.
Tripod
Essential for consistent, sharp images. Tripods eliminate camera shake and enable precise framing. Invest in sturdy tripods that don't shift during exposure.
Lighting Equipment
Proper lighting transforms documentation quality:
Continuous lighting (LED panels, photography lights) allows real-time evaluation of lighting setups. Easier for beginners.
Strobe/flash lighting provides powerful, consistent output. Steeper learning curve but professional standard.
Diffusion materials (softboxes, umbrellas, diffusion panels) soften harsh light and reduce glare.
Backgrounds
Seamless paper or cloth backdrops in neutral colors (white, gray, black) provide clean contexts. For 2D work hung on walls, neutral wall colors work with proper lighting.
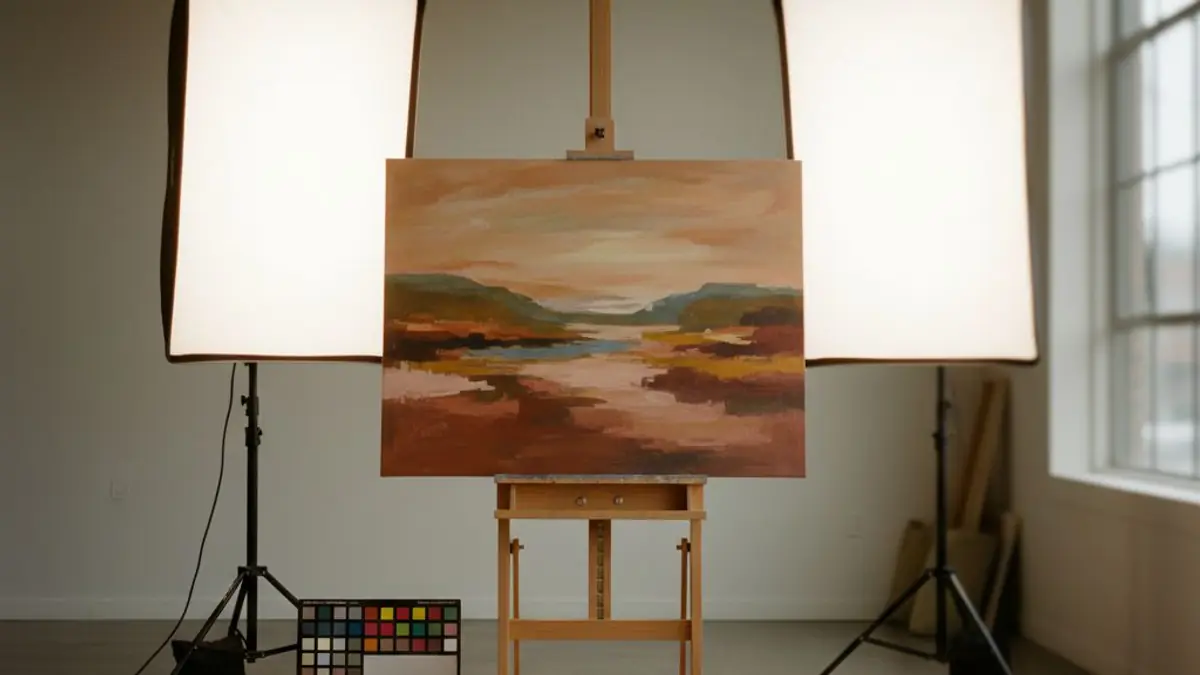
Photographing 2D Work
Setup
- Mount work securely on a wall or vertical easel
- Position camera parallel to the work, centered both horizontally and vertically
- Use a tripod to ensure stability
- Level the camera to prevent perspective distortion
Lighting for 2D Work
Position two lights at 45-degree angles from the work, equidistant and at equal power. This arrangement provides even illumination without glare or shadows.
For glossy surfaces:
- Increase light angles (closer to 90 degrees)
- Use polarizing filters on lights and camera
- Consider tent lighting for highly reflective surfaces
For textured surfaces:
- Experiment with raking light to reveal texture
- Document both even lighting and texture-revealing angles
Camera Settings
- ISO: Keep low (100-400) to minimize noise
- Aperture: f/8 to f/11 for optimal sharpness
- White balance: Set manually or use gray card
- Shoot RAW for maximum editing flexibility
Framing and Cropping
Fill the frame with the artwork plus small margins. Crop precisely in post-processing. Final images should show only the work - no frame, wall, or shadow unless intentionally included.
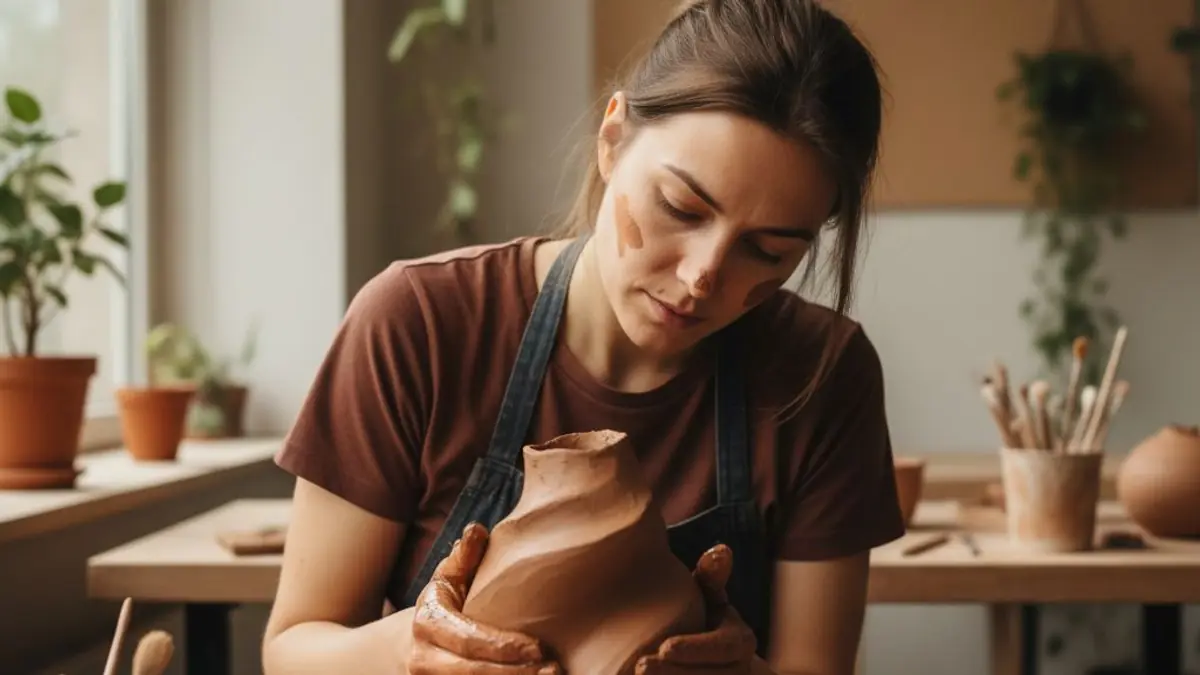
Photographing 3D Work
Multiple Angles
Three-dimensional work requires multiple views:
- Primary view: The angle that best represents the piece
- Secondary views: Additional angles revealing form
- Detail shots: Significant surface, texture, or construction elements
- Scale reference: Include figure or common object if scale matters
Lighting for Sculpture
Unlike 2D lighting's goal of even illumination, sculptural lighting should reveal form and surface.
Key considerations:
- Main light creates form-defining shadows
- Fill light softens shadows without eliminating them
- Background separation prevents objects from merging with backgrounds
- Consider how lighting affects surface perception
Background Options
Seamless backgrounds (paper or cyclorama) create clean, contextless presentations suitable for catalog-style documentation.
Environmental shots show work in context - galleries, outdoor settings, or studios. Useful for demonstrating scale and installation.
Gradient backgrounds (lit for smooth tonal transition) provide visual interest while maintaining focus on work.
Capturing Scale
Indicate scale through:
- Including common objects (hands, everyday items)
- Environmental context
- Dimensions listed in accompanying information
- Comparative images with figures
Photographing Installation and Site-Specific Work
Comprehensive Coverage
Installation work requires documentary approach:
- Overall views showing complete installation
- Multiple vantage points revealing spatial relationships
- Detail documentation of significant elements
- Context shots showing gallery or site environment
Lighting Challenges
Installed work often involves existing ambient lighting. Document how work appears in its intended lighting context, then supplement with additional documentation using controlled lighting if helpful.
Video Documentation
Moving through installations reveals spatial experience photographs can't capture. Consider video walkthroughs, even informal smartphone documentation, supplementing still images.
Working with Galleries
Coordinate with galleries for professional documentation (see NYFA's documentation guide):
- Schedule photography during installation, before opening
- Ensure gallery lighting is set as intended
- Request photographer access or hire your own
- Obtain documentation rights in exhibition agreements
Post-Processing Basics
Color Correction
Ensure accurate color representation:
- Use gray cards during shooting for reference
- Calibrate monitor for accurate display
- Adjust white balance to neutral
- Compare digital images to actual work
Geometric Correction
Correct perspective distortion:
- Use lens correction profiles
- Adjust vertical and horizontal lines
- Ensure rectangular works appear rectangular
Cropping and Cleaning
- Crop to show only the artwork
- Remove dust spots and imperfections in digital files
- Clean edges and corners
File Management
Maintain organized archives:
- Use consistent file naming
- Keep original RAW files
- Create various resolution versions for different uses
- Back up everything in multiple locations
Documentation is an ongoing practice, not a one-time task. Photograph work consistently throughout your practice. Waiting until you need images often means rushing documentation or missing work no longer accessible.
Hiring Professional Photographers
When to Hire
Consider professional photographers when:
- Your equipment or skills produce inadequate results
- Work requires specialized techniques (large scale, highly reflective surfaces, complex installations)
- Documentation is for major opportunities or publications
- Your time is better spent making art
Finding Art Photographers
Sources for finding photographers experienced with artwork:
- Ask fellow artists for recommendations
- Contact galleries about their photographers
- Search portfolios specifically for art documentation experience
- Check with local art schools
Working with Photographers
- Provide clear expectations and reference images
- Be present to guide documentation priorities
- Review images before session ends
- Negotiate file ownership and usage rights
- Budget $200-500+ per session depending on complexity
Frequently Asked Questions
Building Your Documentation Practice
Document Consistently
Make documentation part of your regular practice:
- Photograph completed work before it leaves your studio
- Document works in progress for your own records
- Capture installation views whenever exhibiting
Maintain Quality Standards
Develop consistent techniques producing reliable results. Review older documentation and reshoot if quality has improved significantly.
Organize Your Archive
Create systems for finding images:
- Consistent file naming with work titles and dates
- Backup copies in multiple locations
- Metadata embedded in files
- Master list connecting images to work information
Next Steps
Ready to improve your artwork documentation?
- Assess your current equipment and identify gaps
- Practice techniques with current work
- Reshoot poorly documented portfolio pieces
- Develop consistent workflows for future documentation
Create your Artsume profile to organize your documented work into professional portfolio presentations.
Continue developing your portfolio:
- How to Build an Artist Portfolio - complete portfolio guide
- Artist Portfolio Website - building online presence
- Portfolio for Galleries - gallery submission preparation
- Browse opportunities requiring quality documentation
Showcase Your Documented Work
Upload your professionally documented images to Artsume. Build a portfolio that does your work justice.
Topics
Browse Calls, Grants, and Opportunities on Artsume
Create your professional artist CV and portfolio in minutes with Artsume.
Related Guides
DIY Exhibitions and Pop-ups: Organize Your Own Art Shows
Organize your own exhibitions and pop-up shows. Venue finding, budgeting, promotion, installation, and making self-organized shows successful.
Art Insurance for Artists: Protecting Your Work and Studio
Insure your artwork and studio. Types of coverage, policy options, claims process, and what artists need to know about protecting their work.

Artist Collectives: How to Join or Start an Art Collective
Join or start an artist collective. Benefits of collaborative practice, finding the right collective, organizational structures, and making collective work sustainable.